
You can get incredibly strong climbing on an angled training board. If you are considering building a board, you shouldn't be put off by the construction, as building materials are inexpensive and the carpentry is relatively simple.
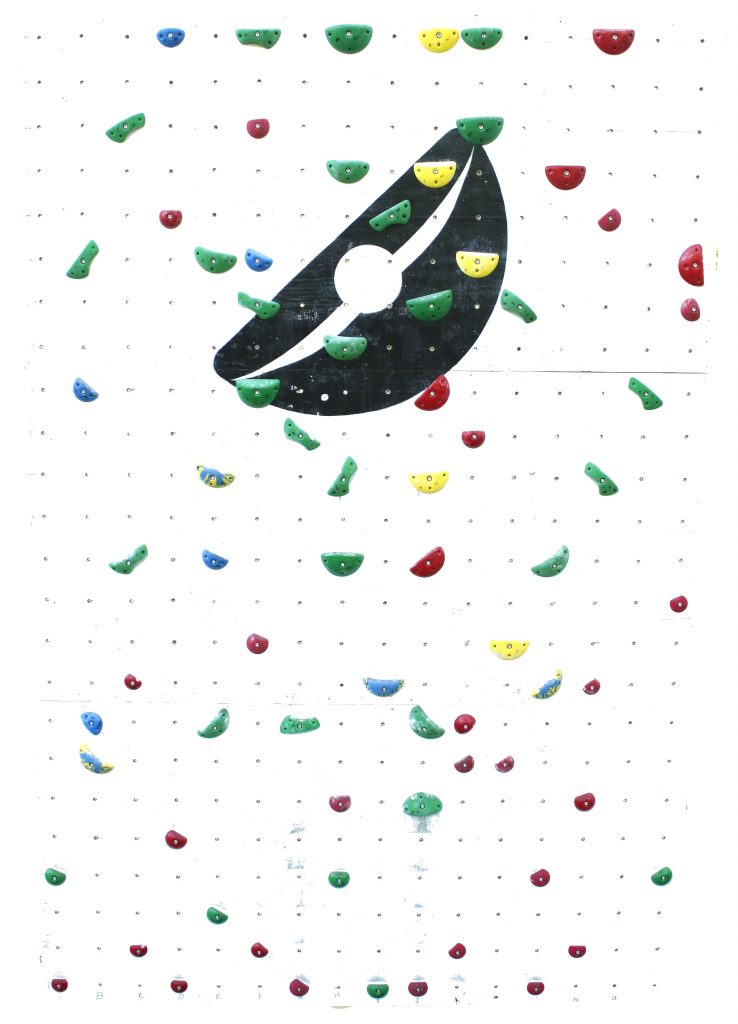
Our crew at Driftless have built a number of training boards and our; edges, feet, jugs and pinches make excellent training holds. We have built an 8 foot X 12 foot adjustable board, (the Driftless Board) with a grid and coordinate system that is easy to use and duplicate. This grid system is ideal for sharing and replicating problems and with a picture and hold coordinates any setting can be duplicated. If your board is a different size than the Driftless board you can still use the spacing and grid concept (it will just end at different numbers and/or letters).
How to set up the Driftless Grid:
Using a tape measure, start 3 inches from the edge of the board and mark every six inches with a pencil. Do this for all four edges. To save you time and math here are where your marks should be: 

After you have marked the board use a chalk line (they are cheap, easy to use and indispensable for this project)
If you haven't used a chalk line before:
Once you have marked your grid with chalk lines, draw numbers and letters with a permanent marker to designate each line.
 A note on framing
We used 2X6” lumber to frame the board and centered the studs every 24 inches. At this spacing, there is some flex in the plywood which makes for a little softer catch when making dynamic movements. If you want to eliminate any flexing you could place studs every 12 inches. Don’t place studs every 16 inches if you are going to use t-nuts as it will complicate t-nut placement. If you are building a screw-in only wall, then any stud placement will suffice.
Screw-in boards:
If you don’t plan to move your holds frequently you may consider building a screw-in only board; it saves time, money, and the best part…no stripped t-nuts! All Driftless hand holds are screw-in and bolt-on. Check them out here!
Use wood screws or treated Deck Screws (outdoor) for securing holds. The screws we use:
Consider stacking 2 sheets of ¾ plywood to surface the board (doubling the board thickness) Wood screws are far less likely to rip out of 1 ½ inches of wood compared to ¾” (one sheet of 3/4 plywood is appropriate for t-nut walls).
If you or want to use Driftless bolt-on foot holds or other bolt-on only holds, use a single washer-head wood screw centered through the bolt hole.

A bolt-on holds works as a screw -in hold with washer head screws.
We also use washer head screws on our screw-in board to reinforce large jugs.
Paint dots on the wall at t-nut placements so that you can take advantage of the grid. If you decide to drill t-nuts later, you will already have the hole placements marked.
Drilling T-Nut boards (helpful hints):
Using your chalk lined grid, drill holes where lines intersect. Stacking plywood and drilling 3 holes at once saves time.
Drill from the back of the sheets to the front. This way if the plywood veneer chips when the bit exits the hole it will be on the front of the board and not the back which should be kept as intact as possible for t-nut application.
Consider using a 15/32 Auger bit. Drilling holes ½” are a bit sloppy and 7/16” a bit snug. An Auger bit leaves a cleaner hole and runs with more finesse than a spade bit. The bit we use: